
Once you know the number you can stop guessing.
What moisture content actually measures
Moisture content isn’t how damp a board feels. It’s a ratio:
MC% = (mass of water ÷ mass of oven-dry wood) × 100
Two things follow from that, and both catch people out.
- It’s a ratio, not a feel. A board can feel dry and still be carrying a lot of water.
- It can go above 100%. Freshly felled timber can hold more water by weight than the wood substance itself weighs. That isn’t a measurement error — it’s why green timber is so heavy.
The one distinction that explains movement
Water sits in wood in two places, and they behave completely differently.
- Free water
- Sits in the hollow centres of the cells. It adds weight — that’s all. Removing it doesn’t make the board shrink by a measurable amount.
- Bound water
- Held inside the cell walls themselves. It changes the size of the walls, which is why it causes shrinkage and swelling.
Nearly every dimensional problem in woodworking traces back to bound water changing. Free water is a weight issue; bound water is the one that ruins projects.
Fibre saturation point — where movement begins
There’s a level of moisture content where the cell walls are fully saturated but there’s no free water left in the hollows. That’s the fibre saturation point, and for most species it’s around 30%.
It matters because it’s the threshold:
- Above it — drying removes free water, and the wood barely changes size.
- Below it — drying removes bound water, and the wood shrinks.
So the rule worth keeping: wood movement happens mainly below the fibre saturation point. Which means the range that matters for everything you’ll ever build is roughly 0–30%, and most of the trouble happens in the narrow band between 6% and 15% where this work actually happens. The exact figure varies by species and isn’t something to design around precisely — the threshold exists; the number moves.
Wood is always exchanging moisture with the air
Wood is hygroscopic — it takes moisture from the air and gives it back, for as long as it exists. Given enough time in a steady environment it settles at a level matched to the air around it.
That’s called equilibrium moisture content, and it’s the whole subject of the next guide. For now: moisture content isn’t a fixed property of a board. It’s a current state, and it depends entirely on where the board is.
That’s why a board that was fine in the workshop misbehaves in the house — and why acclimatising isn’t a superstition. The guides cover storage and acclimatising in more detail.
The numbers worth knowing
- Green, freshly cut
- Often 30% to 200%+. Wildly species dependent, and why green timber is so heavy.
- Air-dried, UK conditions
- Often 15% to 20%. Air drying can’t take timber below the equilibrium moisture content of the outdoor air where it’s stacked.
- Kiln-dried for interior use
- Usually about 8% to 12% in the UK, depending on the merchant — the band that suits heated buildings.
These are ranges, not specifications — real figures depend on species, thickness and how it was dried. But the shape of it is what matters: “kiln dried” is not a single number. It names the process, not a figure: it means the timber was dried to a target, and the question is always which target. Ask the merchant what figure they dry to.
That’s the sentence worth carrying to the yard: kiln-dried timber meant for a heated house and kiln-dried timber meant for a shed are different products, and both are honestly described as kiln dried.
Moisture doesn’t leave a board evenly
Drying happens from the outside in, and from the ends fastest of all. That unevenness produces most of the defects you’ll see:
- End checks — cracking in from the ends, because they dry first.
- Surface checks — the shell shrinks while the core is still wet, so the surface tears.
- Case hardening — drying stress set into the board, usually because the drying was rushed or the kiln skipped or skimped the final conditioning step.
The core of a board can stay wetter than the shell for a long time, which is why a meter read on the surface can be misleadingly low.
Measuring it
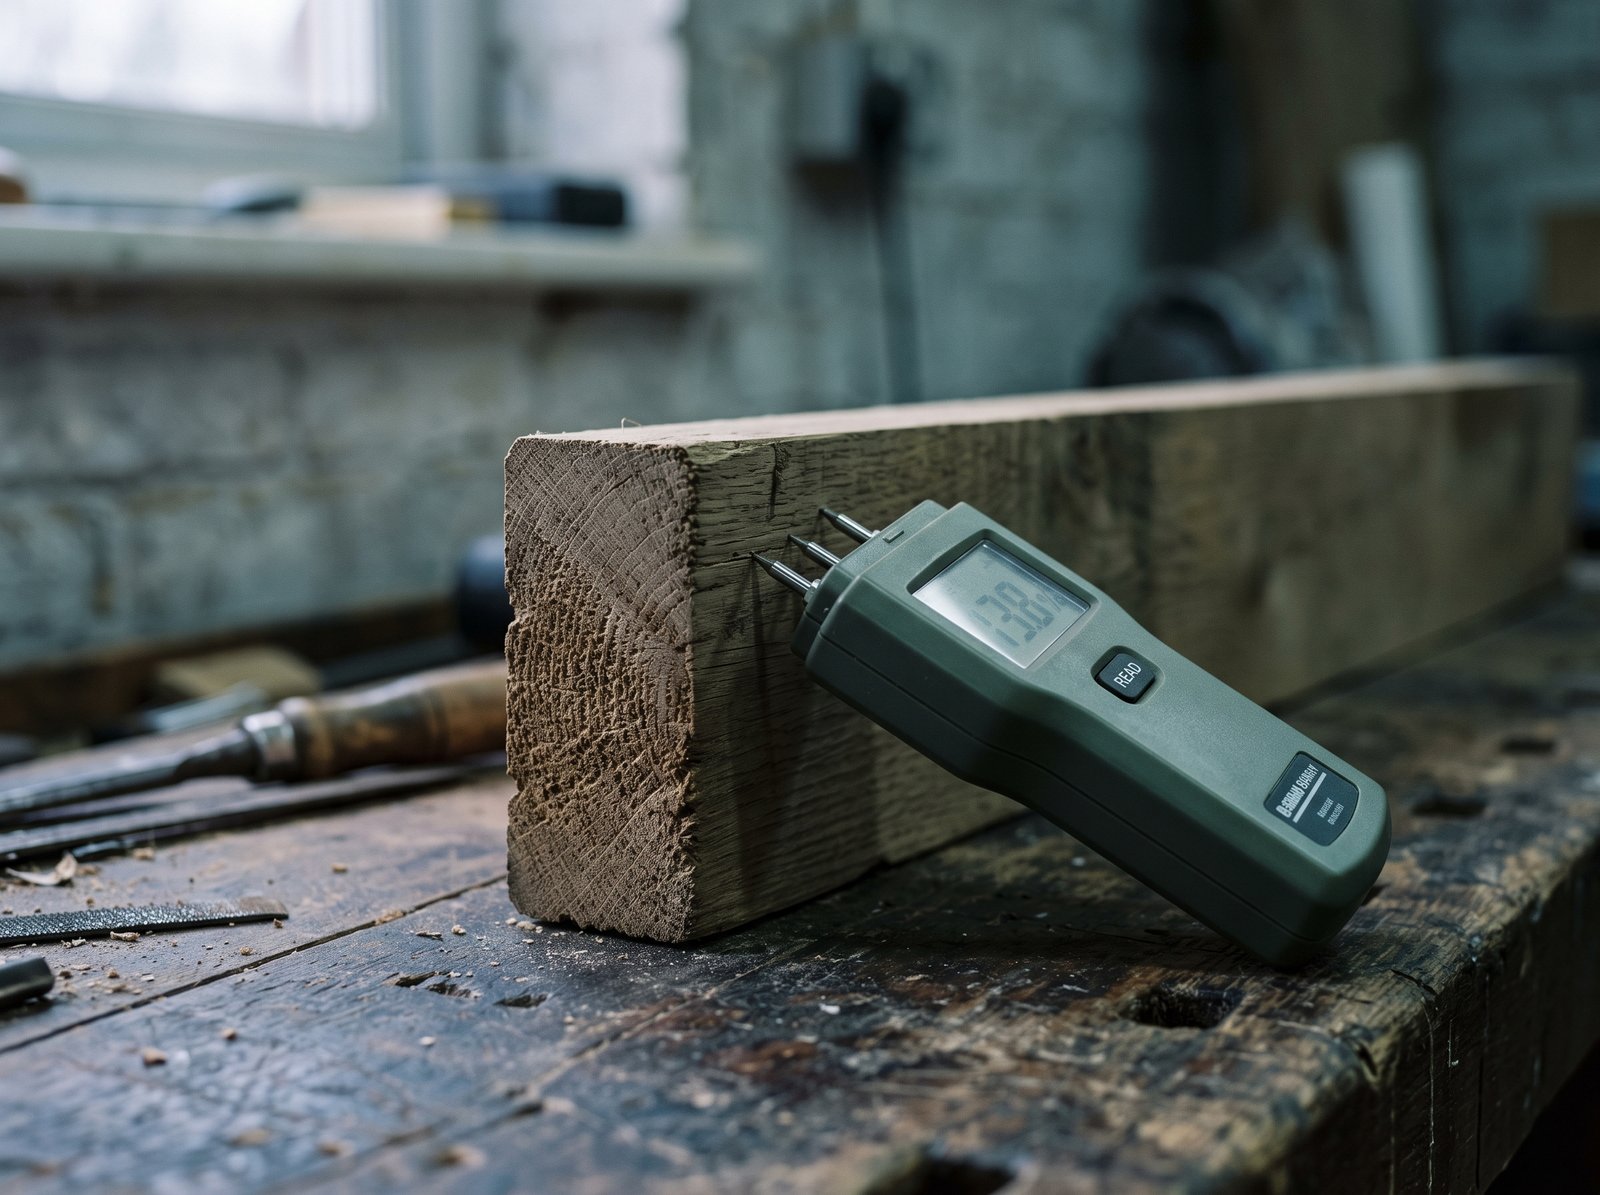
A pin meter drives two pins in and measures electrical resistance; a pinless one reads an electromagnetic field and leaves no marks. Both are useful, neither is a laboratory instrument. Insulated pins driven to different depths show the gradient; ordinary pins read the wettest layer they touch; pinless averages to a depth and is affected by density and thickness. Set the species correction, and don’t trust any meter much above about 25%.
Oven-dry is the only true measurement: weigh it, dry it until the mass stops falling, weigh it again. Accurate, slow and destructive — it’s how the meters are calibrated, but an offcut, kitchen scales and an oven at about 103°C will give you a perfectly good check.
The habit that matters more than the meter: take several readings across a board, not one. A single reading tells you about a single spot, and moisture varies across a board as much as between boards.
What you actually need, by application
- Interior furniture in a heated space — roughly 9–10% at assembly, the middle of the 8–12% a centrally heated UK home swings through across the year.
- Unheated spaces, garages, seasonal buildings — closer to 10–14%. Drying to 8% for a cold workshop can cause problems when the timber takes on moisture on site.
- Exterior projects — roughly 14–18%, but outdoors the timber cycles widely, so the answer isn’t hitting a target, it’s designing for movement, choosing a durable species and detailing it so water gets away.
A workflow that prevents the problem
- Measure when it arrives. Before anything else, know what you’ve been given. Buying and building the same weekend is how projects cup.
- Stack and sticker it. Air needs to reach every face. Flat on a concrete floor, one face draws moisture and the board cups.
- Acclimatise in the space it will live in. Not the workshop — the room the finished piece goes in, if you can manage it.
- Re-measure before milling. The step people skip, and the one that catches a board that hasn’t settled.
- Rough mill, then rest. Take it close to size, let it move, then finish. Roughing out releases tension.
- Final mill, then assemble. Don’t leave a finish-milled board sitting round for a week.
- Detail for movement. Whatever the moisture content, fix a tabletop rigidly across the grain and it has nowhere to go. Finish both faces — whatever you put on one side, do the other, or moisture leaves unevenly and the board warps.
Next in the track
You now know what moisture content measures, why bound water is the one that moves timber, and how to check what you’ve been given. Next is the piece that makes it predictive: given the air in a particular place, what moisture content will the wood settle at? That’s Track 2, Episode 2: Equilibrium Moisture Content.