
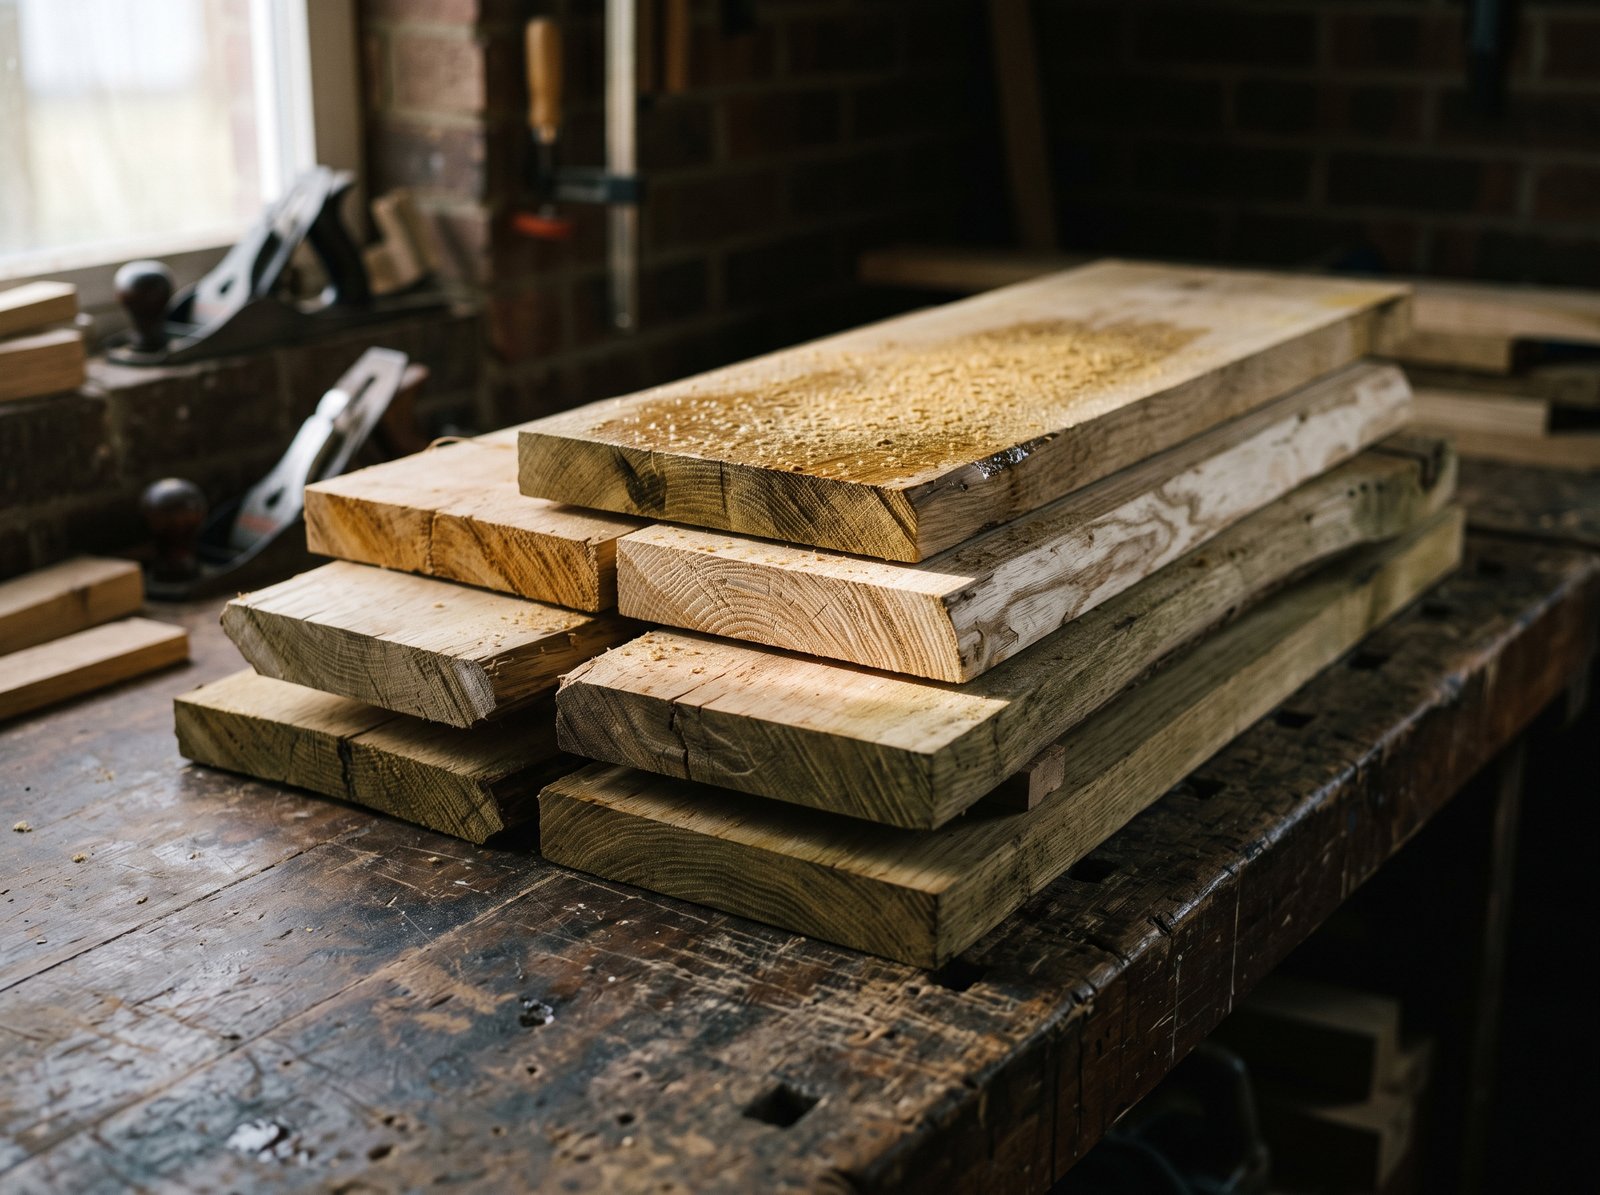
Two boards from the same tree, same species, same thickness can behave completely differently. The sawmill decided that before the timber ever reached a yard.
The one idea: it’s all about ring orientation
Inside every log are growth rings. When you slice the log, you’re choosing the angle at which those rings will sit inside each board.
That angle controls:
- how the grain looks on the face
- how likely the board is to cup
- how consistently it machines
Everything else in this guide is a consequence of that single choice.
Before the saw: what happens to a log
Quite a lot is decided before any cutting starts.
- Cross-cutting (bucking, in North American mills) — cutting the trunk to length. Driven by the product lengths wanted, where the defects are, and how straight and tapered the log is.
- End sealing — fresh logs lose moisture fastest from the cut ends, which is where end checks start. Mills often wax, paint or seal the ends to slow that down and reduce splitting.
- Metal detection — a tree that grew in a town or on a farm can have nails, wire or staples buried in it. That damages blades, and it’s dangerous.
- Debarking and scanning — removing bark cuts grit that dulls tooling. Bigger mills scan logs to work out the cut pattern that gets the most usable timber out of each one.
The three sawing patterns
There are variations, but nearly every board you buy comes from one of these.
Plain (flat) sawing is the most common. The log is sliced in a series of parallel cuts.
- Rings sit at a shallow angle to the face — they show as arcs on the end grain.
- Good yield, wide boards, strong cathedral grain on the face.
- More prone to cupping, and more variation across a single board.
- Cheapest of the three, which is why most timber is cut this way.
Quarter sawing aims for rings closer to perpendicular to the face. Traditionally the log is quartered first, then boards sawn from each quarter.
- Rings run close to vertical on the end grain.
- Straighter grain, more consistent behaviour, less cupping.
- Can reveal ray fleck in species like oak.
- Lower yield and often narrower boards, so it costs more.
Rift sawing targets rings at roughly 30–60°, often near 45°.
- The most consistent appearance on every face, with movement somewhere between flat-sawn and quarter-sawn.
- Lowest yield and most waste, so in principle it’s the dearest. In practice you’ll rarely see it sold under its own name in a UK yard: quarter-sawn, or “quartered”, is the premium line, and “rift” mostly turns up on American white oak, sold as “rift and quartered”. If you want a particular grain, describe it (rings at 45° or steeper across the end, say) rather than relying on the label.
- Mostly used where uniformity really matters — table legs and stiles being the classic case, because you want the grain to look the same on all four faces.
Oak is the species where this choice is most visible to a buyer, because quarter-sawn oak looks dramatically different from flat-sawn — straight grain and ray fleck instead of cathedral arches. Worth knowing before you assume two oak boards should match.
Mill variations you’ll meet
Through-and-through is a plain-sawing variation where the log is sliced without being turned. You get a mix of orientations across the stack — outer boards more flat-sawn, boards nearer the centre closer to quarter-sawn behaviour.
Cant sawing squares the log into a cant first, then saws boards from that. Common for structural timber, where straightness and predictable strength matter more than appearance.
The centre of the log is trouble
Two things at the middle of a tree cause more distortion than anything else.
Pith is the very centre. Boards containing it are far more likely to crack, twist and cup. This is why the end-grain check from Episode 9 matters: pith is easy to spot, and avoiding it removes a whole category of future problems.
Juvenile wood is the wood formed in the tree’s early years, also near the centre. It behaves differently — different shrinkage characteristics, lower stiffness in some species, and more movement issues generally. It’s why a board can look perfectly clean and still misbehave.
Why boards warp
Warp gets blamed on bad timber, but it’s usually predictable. The causes:
- Growth stresses released. Trees hold internal stresses, and sawing releases them unevenly.
- Moisture gradients. If one face of a board dries faster than the other, it cups or bows.
- Ring orientation. Flat-sawn boards have more tangential movement across their width — the cupping mechanism.
- Grain runout and spiral grain. If fibres don’t run straight, boards twist.
- Knots. A knot disturbs the fibre direction and the shrinkage pattern around it.
Notice that most of these can be spotted before you buy, if you know where to look: ring direction and the pith on the end grain, runout and knots on the face. Trapped stress and uneven drying are the ones that only show once you start cutting.
The buying checklist
Everything from this track, in the order you’d use it at the stack:
- Ring orientation — flatter arcs mean more cupping potential; rings nearer vertical mean a more stable board.
- Pith present? — avoid it for most furniture parts.
- Checks and shake — end grain is the easiest place to catch these.
- Runout — grain diving out of the face.
- Knots — and how the grain flows around them.
- Sapwood — how much, and does it matter for this job (outdoors, colour-matching)?
For anything you’re cutting to a size, it’s also worth knowing roughly what the job needs. Cladding and decking quantities are the usual ones to get wrong, and guessing wastes money at both ends — the cladding calculator and the decking calculator will give you a working number before you buy, and the coverage calculator handles area and wastage allowances.
Structural versus furniture timber
Same sawmill, same process, different priorities:
- Structural — predictable strength, grading rules, straightness, knot limits set by grade.
- Furniture and joinery — stability, appearance, how it machines, and where the defects fall so you can cut around them.
The sawing might be identical. What counts as a good board is entirely different, and that’s worth being clear about when you’re specifying anything.
End of the Foundations track
If you’ve read all ten guides, you should now be able to explain what wood is and how it forms, tell hardwood from softwood, understand the cell structure behind how it behaves, read growth rings and the zones inside them, tell heartwood from sapwood, read grain direction, and look at a board’s end grain and predict how it’ll move.
That’s the foundation. Everything else in this series assumes it.
Next in the track
Foundations is done. The next track is Moisture & Movement, and it starts with the single subject that causes more ruined projects than any other: how much water is still in the timber, and what it’s going to do when it leaves. Next, Track 2, Episode 1: Moisture Content Explained.